[Tonight's post is by Ed Smith, a member of the Humboldt Microcontrollers Group]
I just received a Texas Instruments (TI) MSP430FR5969 LaunchPad! This is my unboxing post, I'll also cover updating the onboard programmer's firmware for use with Energia.
We'll kick things off with a few specs, or at least a quick product description. This is an unboxing not a review, after all.
The MSP430FR5969 MCU is aimed at extreme low power consumption, to the point where when it is operating at full power it consumes ~100µA/MHz. That's quite low; at 16MHz it's consuming a measly 1.6mA. In the various sleep modes the power draw is measured in handfuls of micro-amps, and in deep-sleep it even gets down to nano-amps.
The FR5969 LaunchPad takes that MCU and gives it a home, as well as a built in programming interface, breakout headers (with very nice labels, as we'll see later), buttons, LEDs, lots of jumpers, and a 0.1F supercap. That's not µF, that's not mF, that's a tenth of a Farad, something that would have cost a tremendous amount of money a decade ago.
For bonus points, Energia already supports this platform.
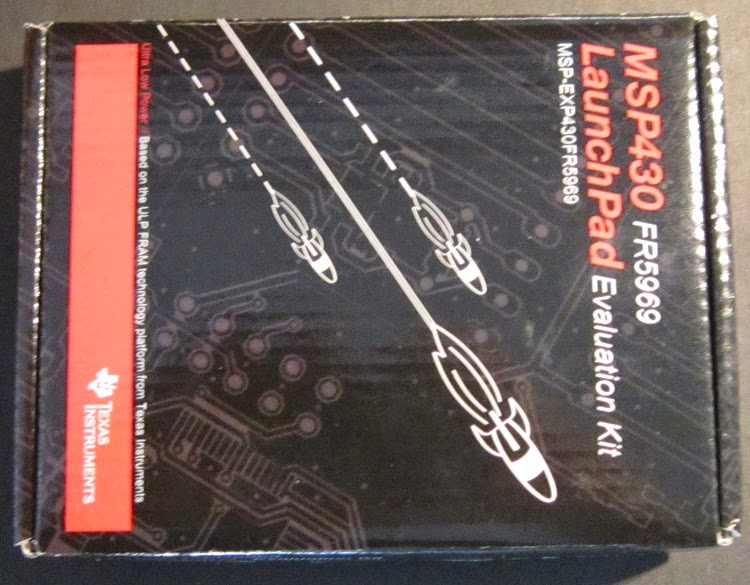
The box is a simple affair, nothing especially flashy other than the rocket logos. Even those aren't flashy per se, not compared to modern marketing anyway. It's a sturdy box, I approve.
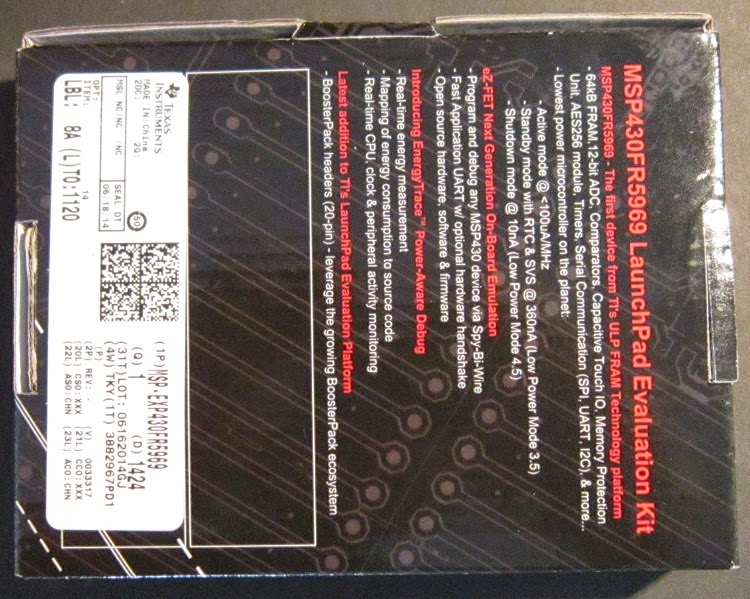

This is the bottom of the board, in case you hadn't guessed.


All is not roses with the FR5969 LaunchPad however. Maybe it is roses, and we're getting to the thorns now. In any event, there are two revisions of this MCU. The first revision to come out, and the new Energy Trace revision. Energy Trace adds a solid set of features to check where the energy is going, but it also requires a newer firmware version for the on board programmer. Unfortunately for some reason or another it doesn't seem to have made it on to the first round of Energy Trace boards! On the plus side, updating the firmware is fairly easy.
Updating the MSP430FR5969 EZ-FET Firmware via Energia
This guide assumes you're going to be using Energia to do your programming, or at least your firmware updating. Code Composer Studio also ships with an updater I believe, and you can download a standalone command line updater as well.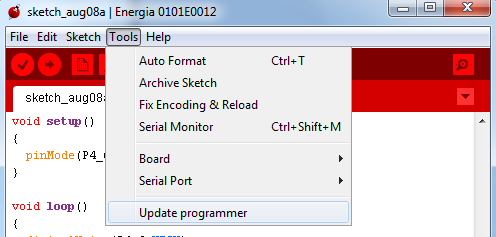 The first step is to open Energia and find the Update programmer menu. It's under the Tools menu and is not hard to find.
You will need to run this a few times, as there is a bug in the update script somewhere that times out after updating one device, and there are three devices on this board that need updating.
For the moment, run it until you start getting errors. I was able to update two out of three devices without any further effort.
Once you start getting errors you will need to close Energia and download the TI MSP430 Flasher utility, the command line program I mentioned above, you can find it here:
MSP430 Flasher Link
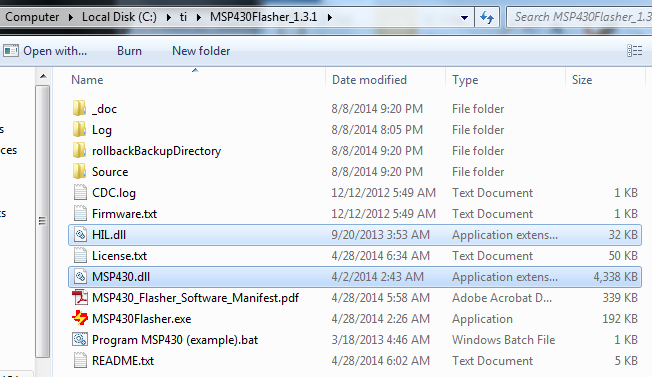
Once you have downloaded and installed it, you need to open two folders. One is the MSP430Flasher install directory (click the pictures to the right for a larger size), the other is the mspdebug directory inside the Energia install directory. The pictures to the right show the paths on my computer.
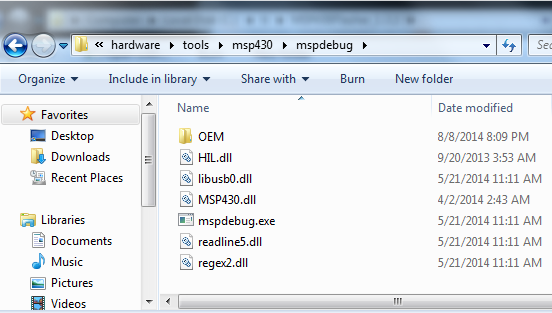 Once you find the two directories you want to copy HIL.dll and MSP430.dll from MSP430Flasher into Energia's mspdebug directory. Backing up Energia's copies of those two files isn't a bad idea, I created a directory called "OEM" and moved the originals into it, then copied the new HIL and MSP430 dlls.
Once you have copied those two files, re-open Energia (if you didn't close it before, close it and re-open it) and run Update Programmer again. Instead of throwing errors it should happily update the remaining piece of firmware. If you feel like being sure, run it again and make sure it's happy that time too.
Presto! Your MSP430FR5969 LaunchPad is now ready to use, enjoy!
- Ed Smith
**********
No comments:
Post a Comment